Stick N Peel wallpaper is a convenient and budget-friendly option for adding a decorative touch to your walls. It’s a simple process to install, but it’s important to properly prepare your walls before applying the wallpaper to ensure that it adheres well and looks its best. Before proceeding to the main guide, let’s understand Stick N Peel wallpaper.
Stick N Peel Wallpaper Overview
Stick N Peel wallpaper, also known as self-adhesive wallpaper, sticks to walls without the need for paste or any other adhesive. It is typically made of a thin vinyl material that is coated with an adhesive backing. The advantage of using Stick and Peel wallpaper is that it is easy to install and remove. It can be peeled off the wall without damaging the paint or drywall, making it a good option for renters or people who like to change up the look of their walls frequently.
Why Use Stick N Peel Wallpaper For Your Walls?
There are several advantages to using Stick N Peel wallpaper for your walls:
- Easy installation: Stick N Peel wallpaper is easy to install and requires no special tools or techniques. You can easily install it yourself in a few hours.
- No damage to walls: Because Stick N Peel wallpaper requires no glue or adhesive, it can be easily removed without damaging your walls.
- Cost-effective: Stick N Peel wallpaper is generally less expensive than traditional wallpaper, making it a cost-effective option for home decor.
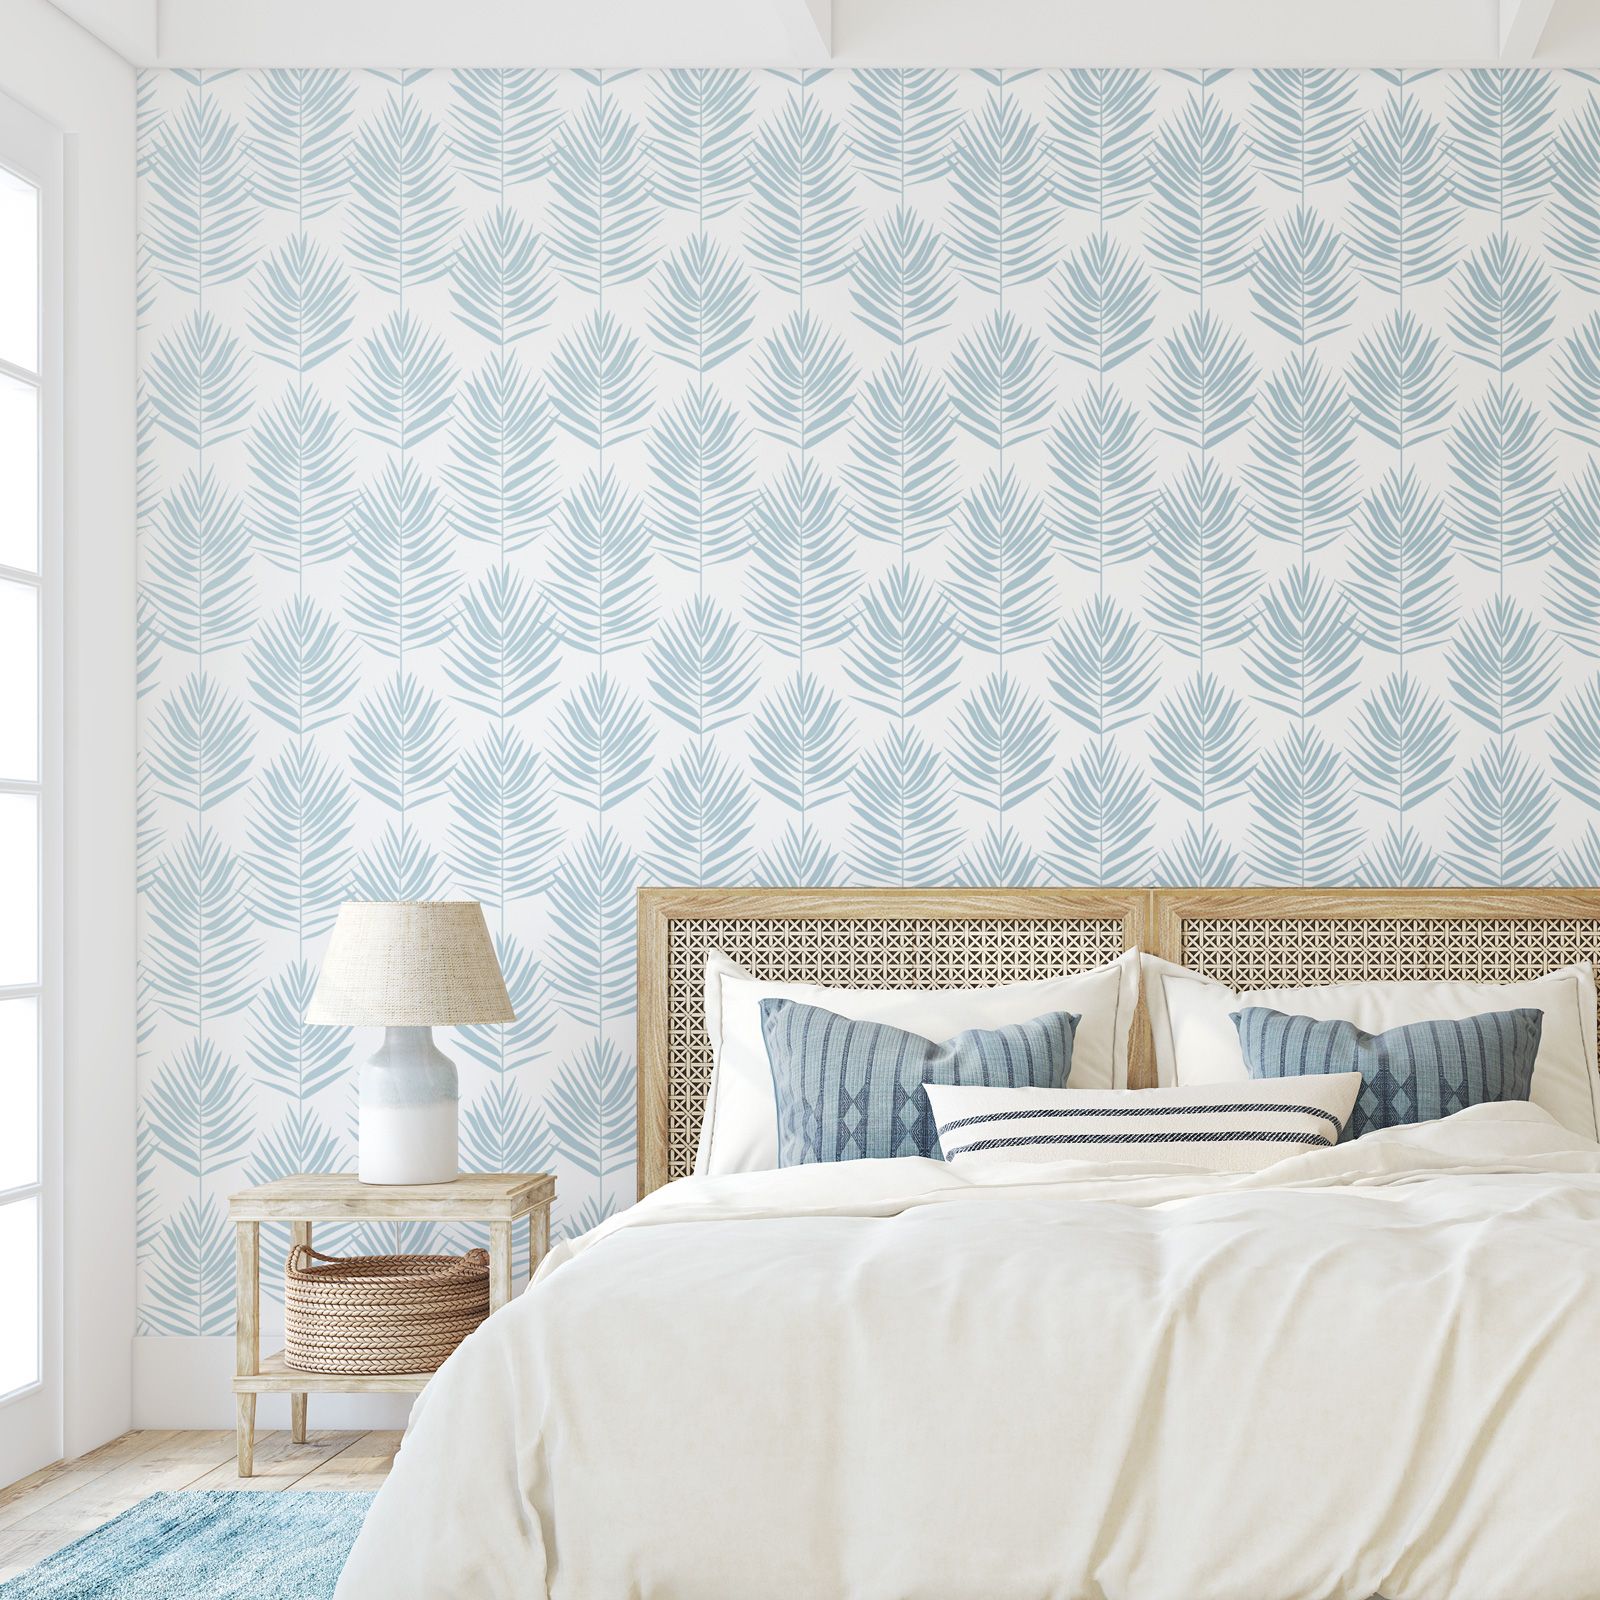
- Various designs: A wide variety of designs are available in Stick N Peel wallpaper, so you can choose a pattern that fits your style and taste.
- Durable: Stick N Peel wallpaper is made of high-quality materials resistant to fading, peeling, and wrinkling, making it a durable option for your walls.
- Easy to clean: Stick N Peel wallpaper is easy to clean and maintain, as it can be wiped down with a damp cloth.
Here is a step-by-step guide to help you prep your walls for Stick N Peel wallpaper:
- Start by cleaning the walls- Use a mild detergent and warm water to remove any dirt, dust, or oils on the surface. Make sure to thoroughly dry the walls after cleaning.
- Next, inspect the walls for any imperfections or damage. Fill in any holes or cracks with spackling compound and sand down the surface until smooth.
- If you have recently painted your walls, ensure the paint is completely dry and has had time to cure before applying the wallpaper.
- If you apply the wallpaper to a textured wall, you may need to smooth out the surface by applying a coat of wallpaper primer or lightly sanding the surface.
- Measure the width and height of the wall to determine how much wallpaper you will need. When cutting the wallpaper, allow for an extra few inches of overlap to ensure you have enough to complete the job.
- Cut the wallpaper to the desired length and set it aside.
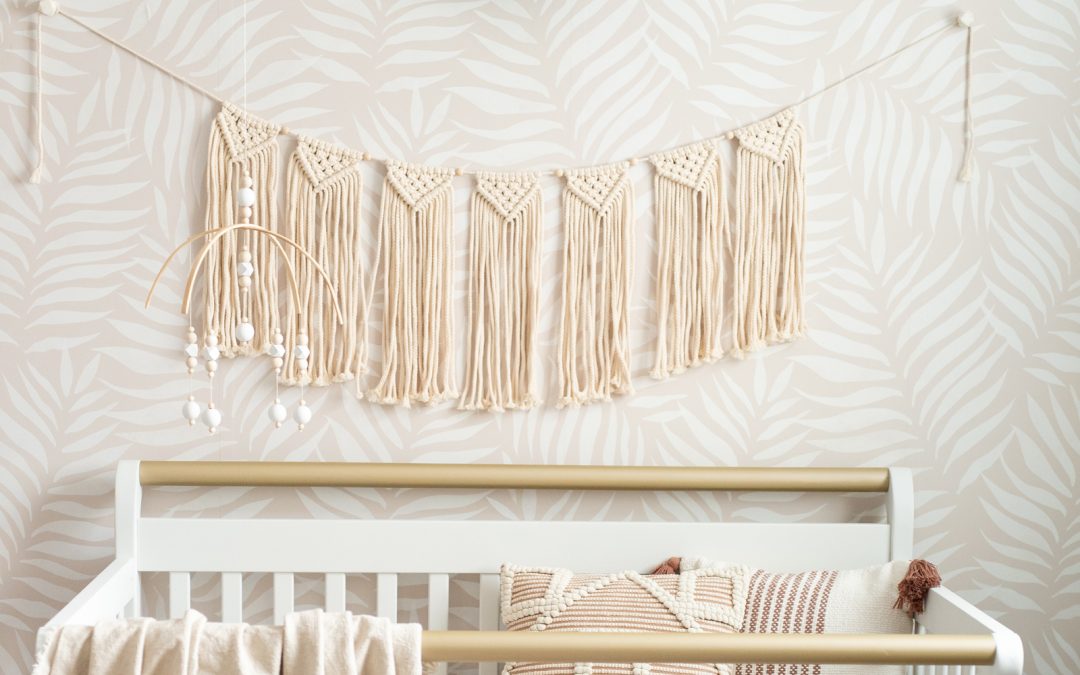
- Peel the backing off a small section of the Stick N Peel nursery wallpaper and carefully align it with the top edge of the wall. Smooth out any bubbles or creases as you go.
- Continue peeling and sticking the wallpaper along the wall, making sure to overlap the edges slightly as you go.
- Trim off any excess wallpaper at the bottom of the wall using a straight edge and a sharp blade.
- Repeat the process until the entire wall is covered.
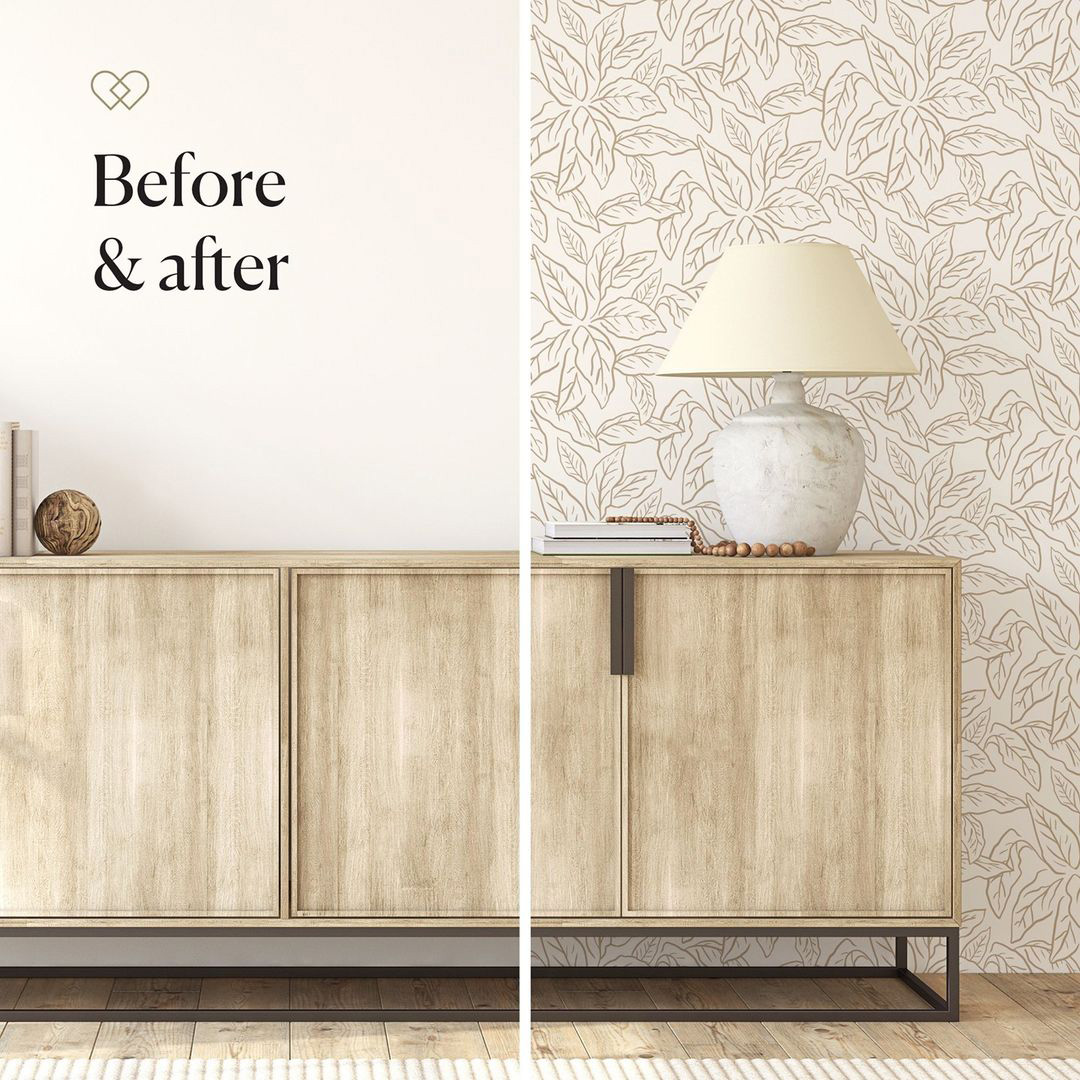
Following these steps, you can ensure that your walls are properly prepared for Stick N Peel wallpaper, resulting in a smooth and professional-looking finish. Remember to follow the manufacturer’s instructions for the type of wallpaper you use for the best results.


Connect With Me !